Python SDK 快速上手
Contents
Python SDK 快速上手#
1. 安装OpenMLDB Python包#
使用pip安装。
pip install openmldb
2. 使用OpenMLDB DBAPI#
2.1 创建connection#
参数db_name不要求必须存在,可以创建connection时指定想要的db,connect后创建该db。
import openmldb.dbapi

# 连接集群版OpenMLDB
db = openmldb.dbapi.connect("db1", "$zkcluster", "$zkpath")

# 连接单机版OpenMLDB
# db = openmldb.dbapi.connect("db1", "$host", $port)

cursor = db.cursor()
2.2 创建数据库#
cursor.execute("CREATE DATABASE db1")
2.3 创建表#
cursor.execute("CREATE TABLE t1 (col1 bigint, col2 date, col3 string, col4 string, col5 int, index(key=col3, ts=col1))")
2.4 插入数据到表中#
cursor.execute("INSERT INTO t1 VALUES(1000, '2020-12-25', 'guangdon', 'shenzhen', 1)")
2.5 执行SQL查询#
result = cursor.execute("SELECT * FROM t1")
print(result.fetchone())
print(result.fetchmany(10))
print(result.fetchall())
2.6 SQL批请求式查询#
# Batch Request模式,接口入参依次为“SQL”, “Common_Columns”, “Request_Columns”
result = cursor.batch_row_request("SELECT * FROM t1", ["col1","col2"], ({"col1": 2000, "col2": '2020-12-22', "col3": 'fujian', "col4":'xiamen', "col5": 2}))
print(result.fetchone())
2.7 删除表#
cursor.execute("DROP TABLE t1")
2.8 删除数据库#
cursor.execute("DROP DATABASE db1")
2.9 关闭连接#
cursor.close()
3. 使用OpenMLDB SQLAlchemy#
3.1 创建connection#
create_engine('openmldb:///db_name?zk=zkcluster&zkPath=zkpath')
参数db_name不要求必须存在,可以创建connection时指定想要的db,connect后创建该db。
import sqlalchemy as db

# 连接集群版OpenMLDB
engine = db.create_engine('openmldb:///db1?zk=127.0.0.1:2181&zkPath=/openmldb')

# 连接单机版OpenMLDB
# engine = db.create_engine('openmldb:///db1?host=127.0.0.1&port=6527')

connection = engine.connect()
3.2 创建数据库#
使用connection.execute()接口创建数据库:
try:
    connection.execute("CREATE DATABASE db1")
except Exception as e:
    print(e)
3.3 创建表#
使用connection.execute()接口创建一张表:
try:
    connection.execute("CREATE TABLE t1 ( col1 bigint, col2 date, col3 string, col4 string, col5 int, index(key=col3, ts=col1))")
except Exception as e:
    print(e)
3.4 插入数据到表中#
使用connection.execute(ddl)接口执行SQL的插入语句,可以向表中插入数据:
try:
    connection.execute("INSERT INTO t1 VALUES(1000, '2020-12-25', 'guangdon', 'shenzhen', 1);")
except Exception as e:
    print(e)
使用connection.execute(ddl, data)接口执行带planceholder的SQL的插入语句,可以动态指定插入数据,也可插入多行:
try:
    insert = "INSERT INTO t1 VALUES(1002, '2020-12-27', ?, ?, 3);"
    connection.execute(insert, ({"col3":"fujian", "col4":"fuzhou"}))
    connection.execute(insert, [{"col3":"jiangsu", "col4":"nanjing"}, {"col3":"zhejiang", "col4":"hangzhou"}])
except Exception as e:
    print(e)
3.5 执行SQL批式查询#
使用connection.execute(sql)接口执行SQL批式查询语句:
try:
    rs = connection.execute("SELECT * FROM t1")
    for row in rs:
        print(row)
    rs = connection.execute("SELECT * FROM t1 WHERE col3 = ?;", ('hefei'))
    rs = connection.execute("SELECT * FROM t1 WHERE col3 = ?;",[('hefei'), ('shanghai')]);
except Exception as e:
    print(e)
3.6 执行SQL请求式查询#
使用connection.execute(sql, request)接口执行SQL批式查询语句:请求式查询,可以把输入数据放到execute的第二个参数中
try:
    rs = connection.execute("SELECT * FROM t1", ({"col1":9999, "col2":'2020-12-27', "col3":'zhejiang', "col4":'hangzhou', "col5":100}))
except Exception as e:
    print(e)
3.7 删除表#
使用connection.execute(ddl)接口删除一张表:
try:
    connection.execute("DROP TABLE t1")
except Exception as e:
    print(e)
3.8 删除数据库#
使用connection.execute(ddl)接口删除一个数据库:
try:
    connection.execute("DROP DATABASE db1")
except Exception as e:
    print(e)
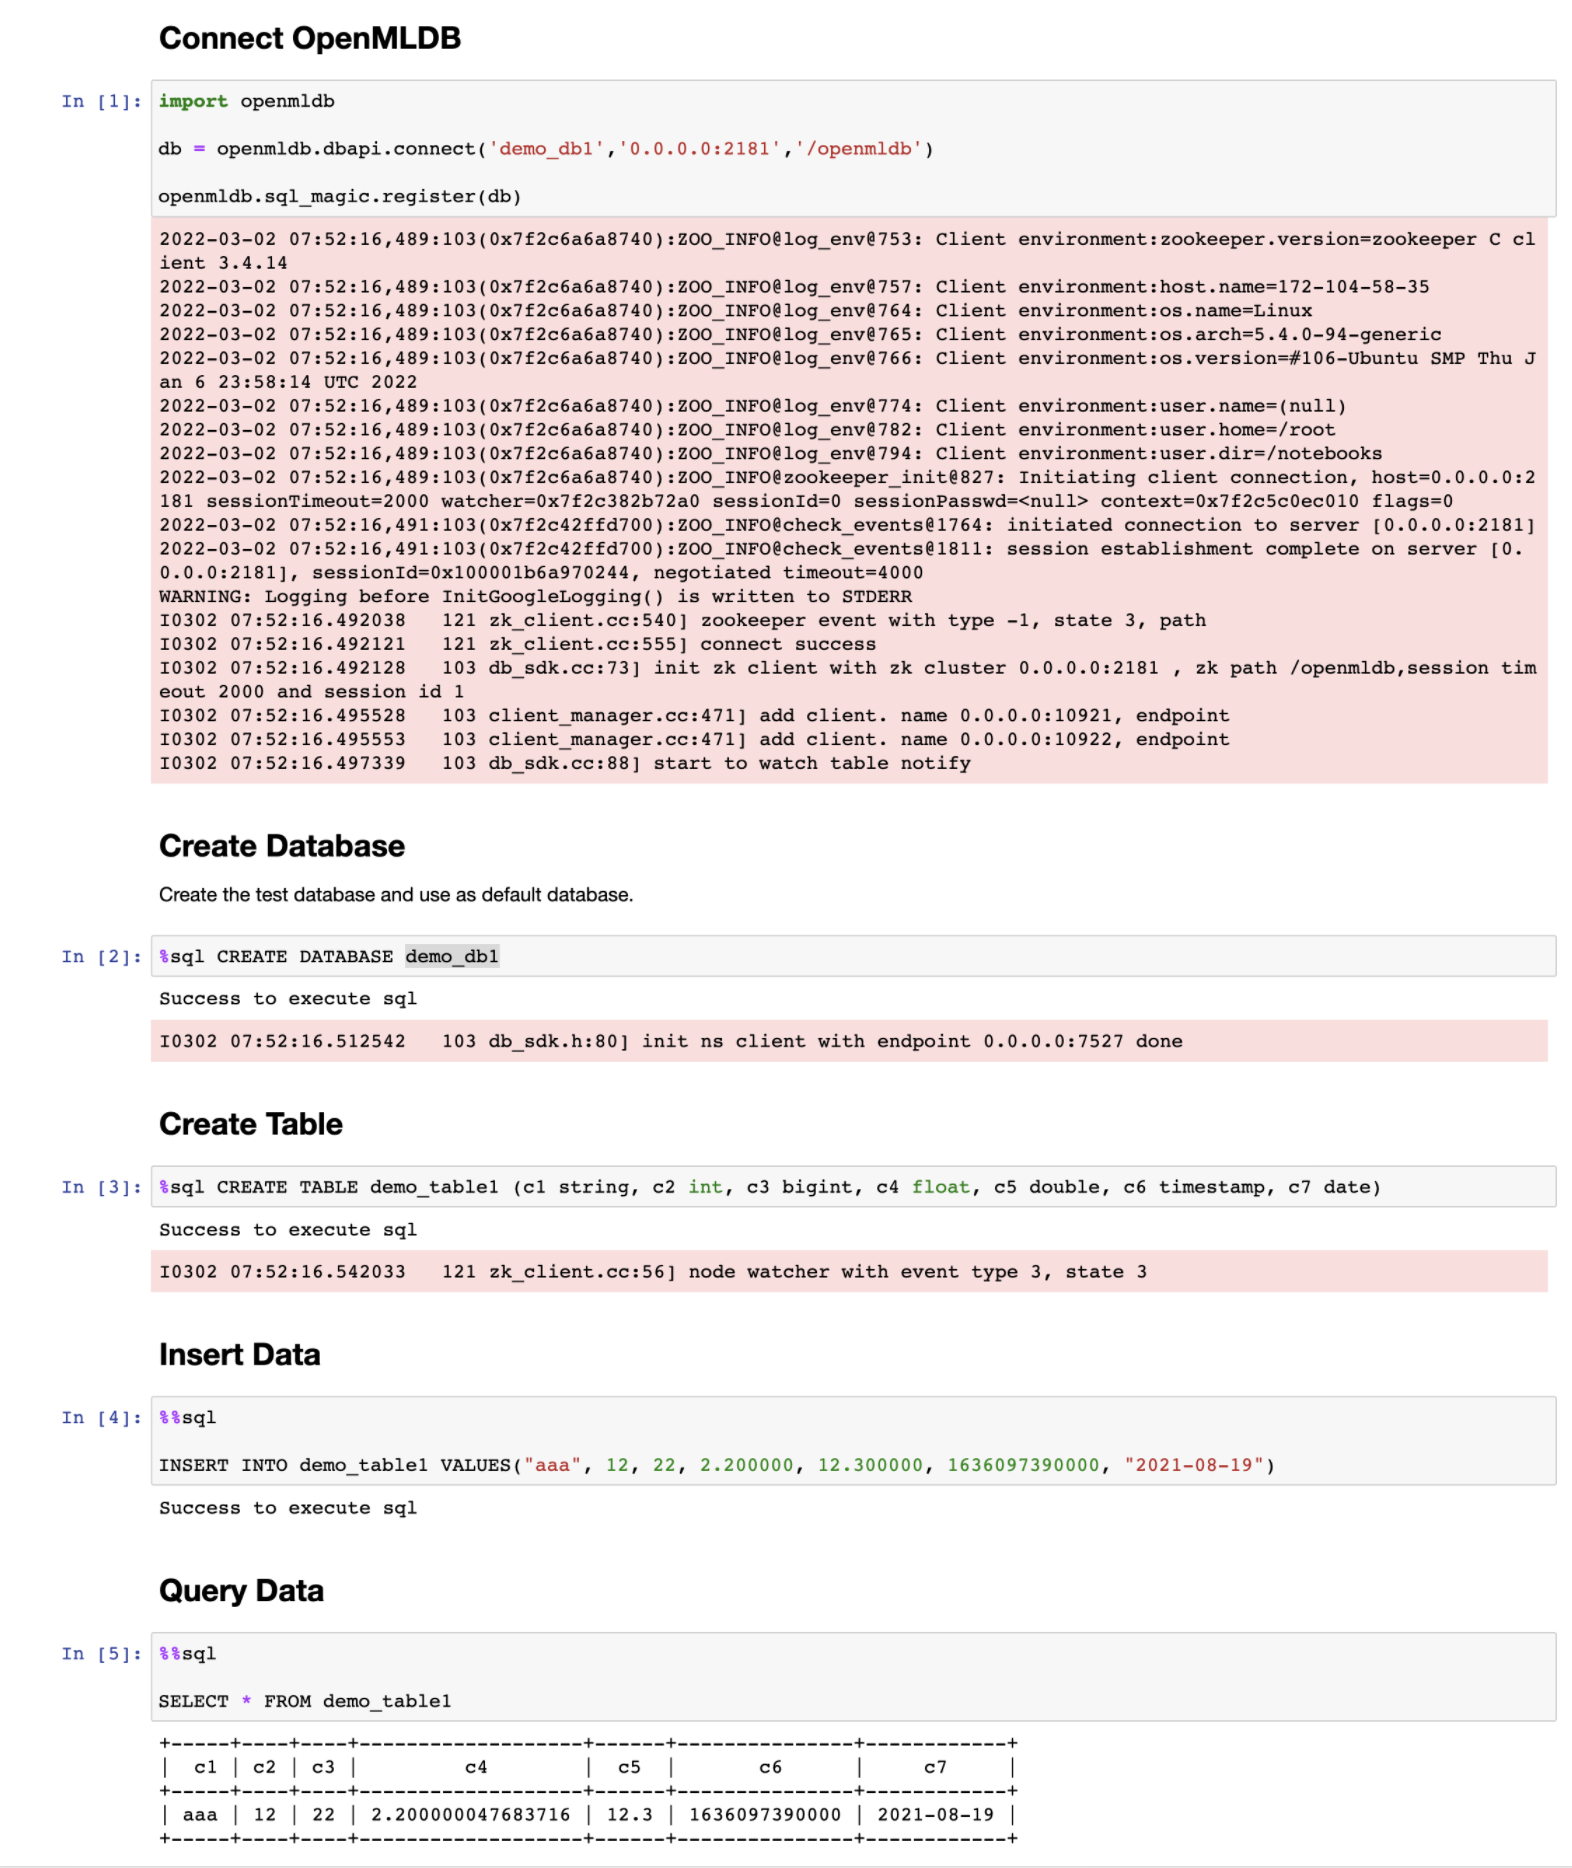
4. 使用Notebook Magic Function#
OpenMLDB Python SDK支持了Notebook magic function拓展,使用下面语句注册函数。
import openmldb

db = openmldb.dbapi.connect('demo_db','0.0.0.0:2181','/openmldb')

openmldb.sql_magic.register(db)
然后可以在Notebook中使用line magic function %sql和block magic function %%sql。
Q&A#
Q: 使用sqlalchemy出现ImportError: dlopen(.._sql_router_sdk.so, 2): initializer function 0xnnnn not in mapped image for ,怎么办?
A: 这个问题通常出现在,除了import openmldb外,还import了其他第三方库,可能导致加载的顺序产生混乱。
由于系统的复杂度,建议你使用virtual env环境,避免干扰。并且,在import sqlalchemy前import openmldb,并保证这两个import在最前。
Q: python sdk遇到以下问题,如何解决?
[libprotobuf FATAL /Users/runner/work/crossbow/crossbow/vcpkg/buildtrees/protobuf/src/23fa7edd52-3ba2225d30.clean/src/google/protobuf/stubs/common.cc:87] This program was compiled against version 3.6.1 of the Protocol Buffer runtime library, which is not compatible with the installed version (3.15.8). Contact the program author for an update. ...
A: 该问题可能是别的库引入了protobuf的其他版本。可以尝试使用virtual env环境。